Exterior Detailing After Winter · FHCrew #1
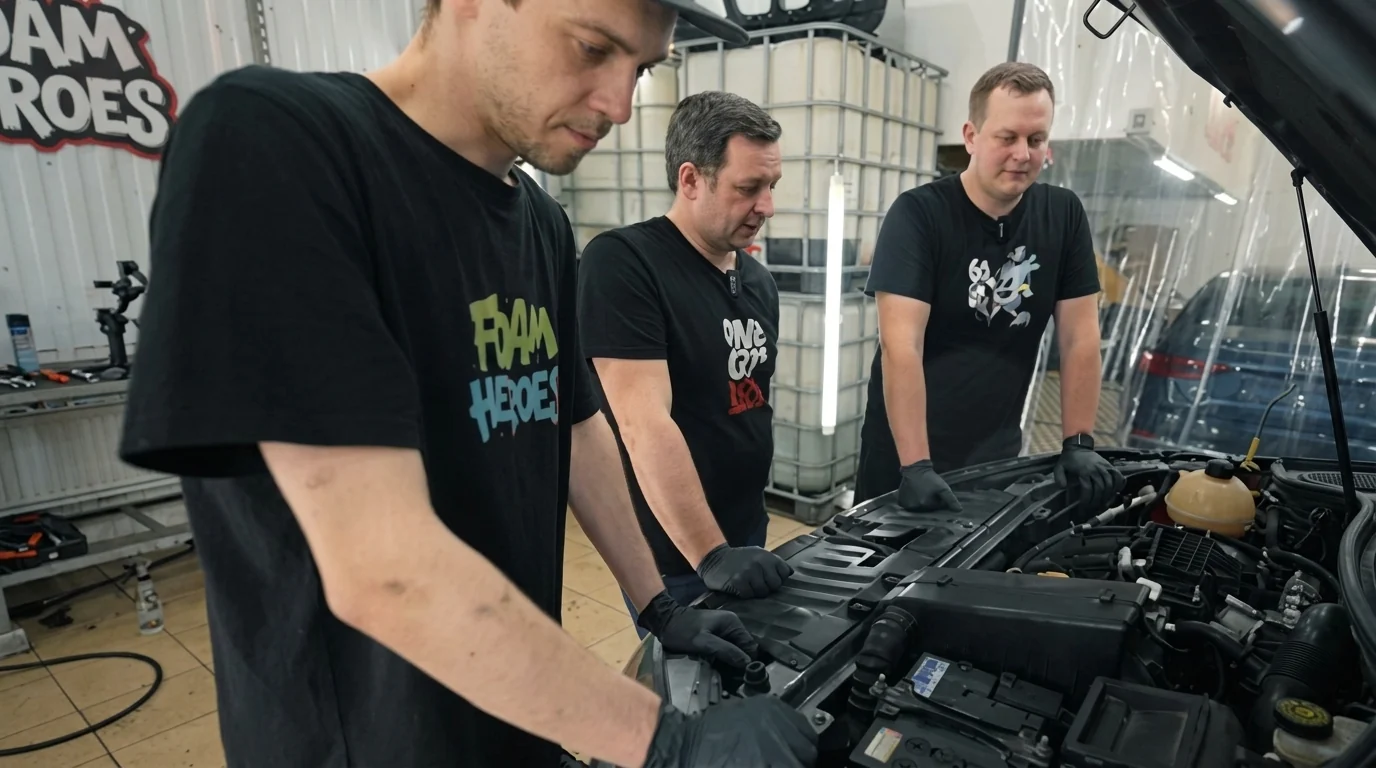
Hey everyone! After a winter on the road, your car needs a full round of detailing. Today we got the crew together to clean up a Lada SW Cross belonging to one of our subscribers.
In this article we'll focus on deep cleaning the exterior and the engine bay.
And by the way, you can do all of this yourself. Let this video inspire you to take care of your car on your own. Deep cleaning the wheels, wheel wells and suspension.
In winter the roads are full of salt and road salt chemicals. That's hard on tires, rubber suspension parts and plastic liners. Pull the wheel off to make life easier and start cleaning. First, spray bug & tar remover Tar Spirit on the wheels, wheel wells and suspension. Let it dwell a few minutes. Then blast it off thoroughly with high-pressure water.
Grab the wheel & tire cleaner Pure Wheels, mix up the acidic wash soap Acid Shock and start a thorough clean of the wheels, wheel wells and suspension with dedicated brushes and mitts from Foam Heroes. Pure Wheels and Acid Shock together give you the strongest cleaning effect.
When you clean the suspension, pay the most attention to the rubber joints. Salt and road salt are hard on them and lead to replacements you didn't plan on. So right after cleaning, apply Well Done to the rubber joints to bring back some flexibility. It will soak in while you wash the car.
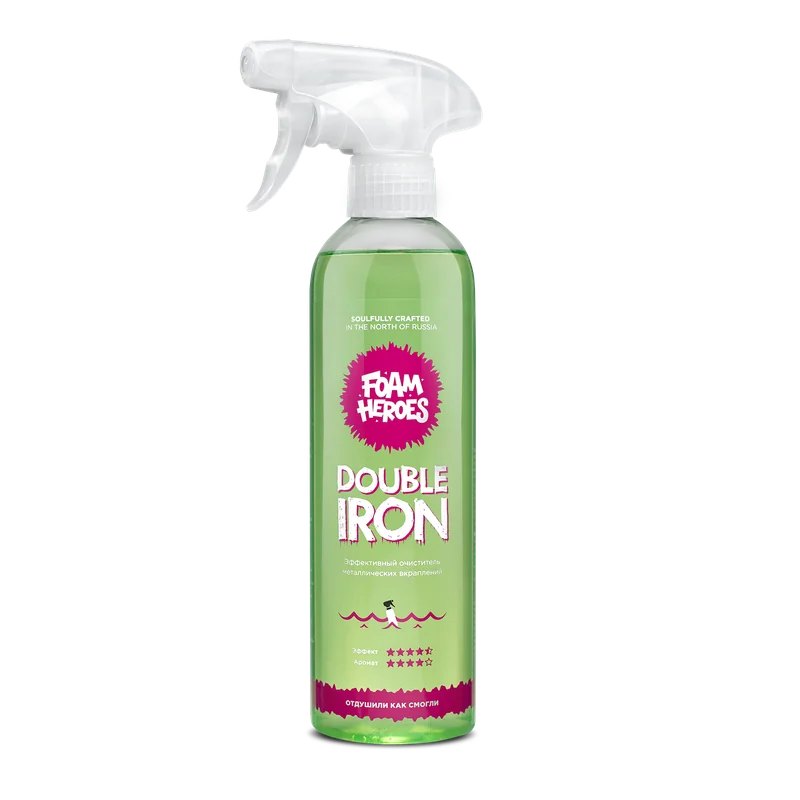
If your car has carpeted liners, use a tire brush to clean them. And the final touch is removing iron fallout with Double Iron. We've already taken off the static contaminants, so the cleaner will react with the brake dust more easily. Apply it. Wait for the reaction. Rinse.
Cleaning the exhaust tips. Keep Double Iron close by. It helps a lot with the tips and even the muffler — though the muffler is optional. Apply the cleaner and let it dwell a few minutes. Then use the acidic wash soap Acid Shock and your wheel tools to finish the job. If you have a metal polish in your arsenal, save it for the final stage. It comes in very handy.
So we've cleaned the wheels, tires, wheel wells, suspension parts and exhaust tips. By now the engine bay should have cooled down. That's our next step: washing and dressing the engine bay. We've talked about why you should wash your engine in past videos. Let's run through it again:
A dirty engine can lose power, shed heat worse and burn more fuel. Skipping engine bay care wears out rubber seals and hoses, oxidizes aluminum parts and kills connectors.
And of course a clean engine bay always looks good. You won't get your hands dirty topping off washer fluid or checking the oil. Depending on the car, cover up: - the ABS and engine control units, the fuse box.
- the alternator. - the battery. - on direct-injection systems, cover things up so water doesn't reach the injectors.
The newer your car, the better sealed the engine bay is. If the engine or other parts have been repaired, be extra careful. Start by treating all electrical contacts with a dedicated lubricant (Super Lube).
The Foam Heroes lineup includes a strong engine degreaser Hello Motor. It will change how you think about products like this. It smells amazing (open the cap and take it in). You can clean wherever it's convenient for you — at a self-serve wash or a spot by your house — with no discomfort at all.
Apply the degreaser to the underside of the hood and to the engine bay itself. Give the product a few minutes to work and go at it with brushes and detailing brushes. Start with the underside of the hood — it's the less dirty part. After cleaning, rinse with water at low pressure. Try not to hold the water on one spot for long to keep the risk down.
To get leftover water out of tight spots, use compressed air, a blower or a car dryer. Take your time and work through every part. The final touch is dressing the surfaces. We'll apply an engine bay dressing with a lovely homemade-plum scent.
Why the engine bay needs Well Done: - it deepens the color of the surface. - it adds a light anti-static finish.
- it makes the next cleaning easier:
- also displaces moisture. - forms a durable film on the surface
- protects treated surfaces from outside factors, keeping rubber and plastic parts from breaking down due to temperature swings.
After application you can buff off the excess in 10-15 minutes. Or leave Well Done to work until you finish everything else. Just close the hood and move on to the next step. Pre-wash — touchless, with bug & tar remover. After winter there's a lot of road salt left on the paint. It's a greasy film that hurts the paint, plastic, rubber and chrome parts.
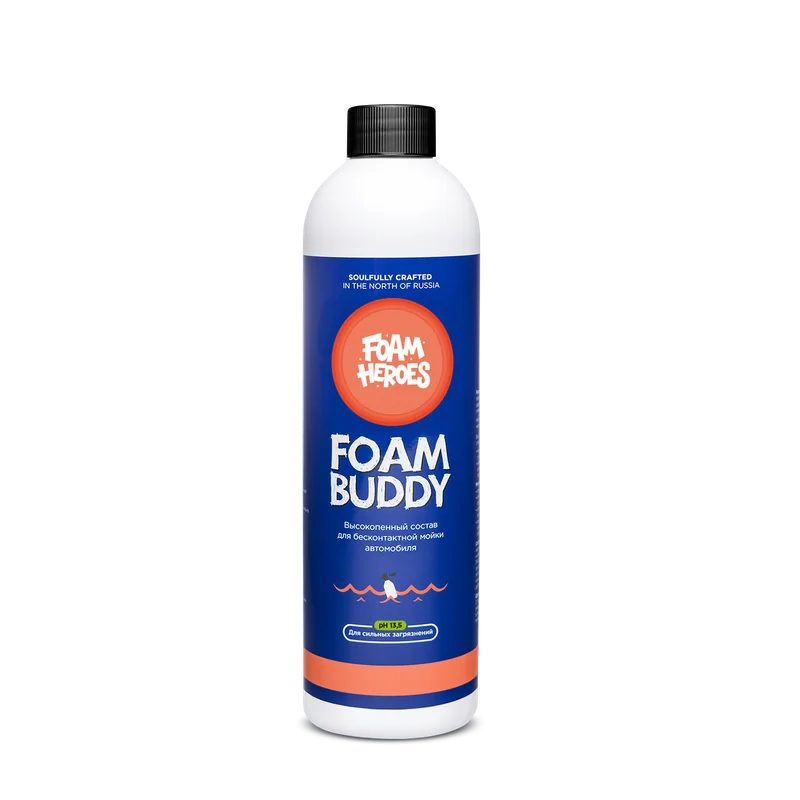
So first we lay down Tar Spirit to lift the road salt. Then we spray touchless wash soap with added d-limonene Citrus Buddy through the foam cannon and enjoy the cappuccino. A few minutes later, rinse the paint thoroughly from the bottom up.
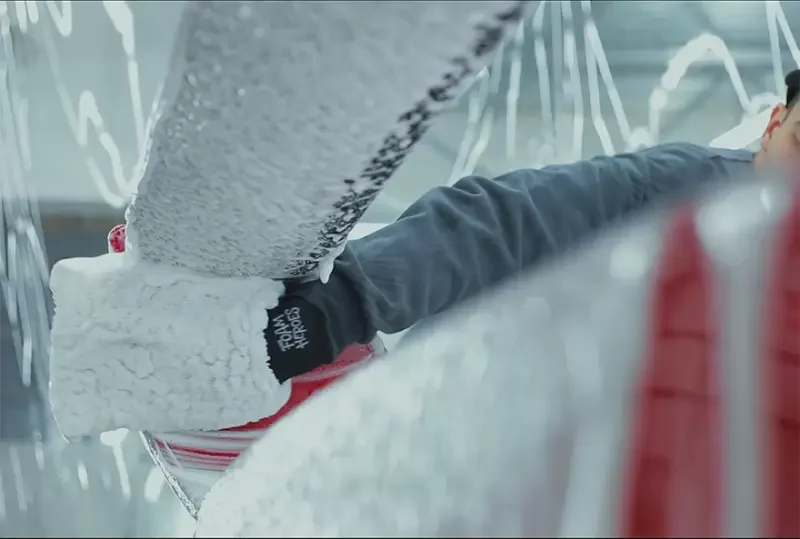
At this point we've removed the first layer of dirt and can move on to the contact wash. Contact wash with acidic wash soap. For the contact wash we'll also use acidic wash soap Acid Shock. It removes any leftover bug & tar remover and touchless wash soap, and it also helps prevent calcium deposits on the paint. Apply it through the foam cannon. Let it sit on the paint for a minute or two and start the contact wash. By the way, add a little Acid Shock to the bucket. It definitely won't hurt.
And for seams and tight spots. We'll grab Juicy Citrus and work it carefully around the window openings, the seams between body panels, the lights and the exterior trim. And of course we'll clean the door jambs and rubber seals.
Drying. Rinse off the car wash soap, dry the paint with an MR Twister microfiber towel and blow the water out of gaps and tight spots with a car dryer. So at this point we've fully cleaned the paint, wheels, wheel wells and suspension.
Almost everything is ready for protection. But there's one important thing. It would be great to prep the paint, tires and exterior trim. Traces of soap or cleaner may still be left on these surfaces. You need this for the best adhesion of the coatings we're about to apply.
Grab Easy Prep and good lint-free microfiber towels Pearl Wipe. Spray the surface prep onto the towel and wipe the surface thoroughly. Protecting the surfaces — wheel wells, tires, wheels, paint, door jambs, exterior trim. Now for the best and most important step. We're going to lock in our result with protective coatings.
Let's go! Grab the rubber and plastic trim restorer Black Slipper and get the tires, rubber seals and exterior trim as black as they can be. Spring is the perfect time for the ceramic detailer Blaze Booster. Wiping down your ride in the spring is always priceless. Grab Blaze Booster and 2 clean microfiber towels.
Friends, the product is very concentrated. There's no point in using a lot. One or two spritzes on one towel, spread it over the paint and buff it off right away with the second, dry one. The product gives you slickness and deeper color. And the mango or cherry pit scent is a treat on its own. We'll treat the paint, lights and chrome with Blaze Booster.
Friends, today we ran through the exterior detailing steps. We cleaned the paint, wheel wells, wheels and suspension as well as we could, and protected all of those surfaces. You can do all of this yourself.
Here's to great-smelling detailing with Foam Heroes!
Products in this article
Everything mentioned here, one click away.