How to Safely Wash Your Engine Yourself: A Step-by-Step Guide
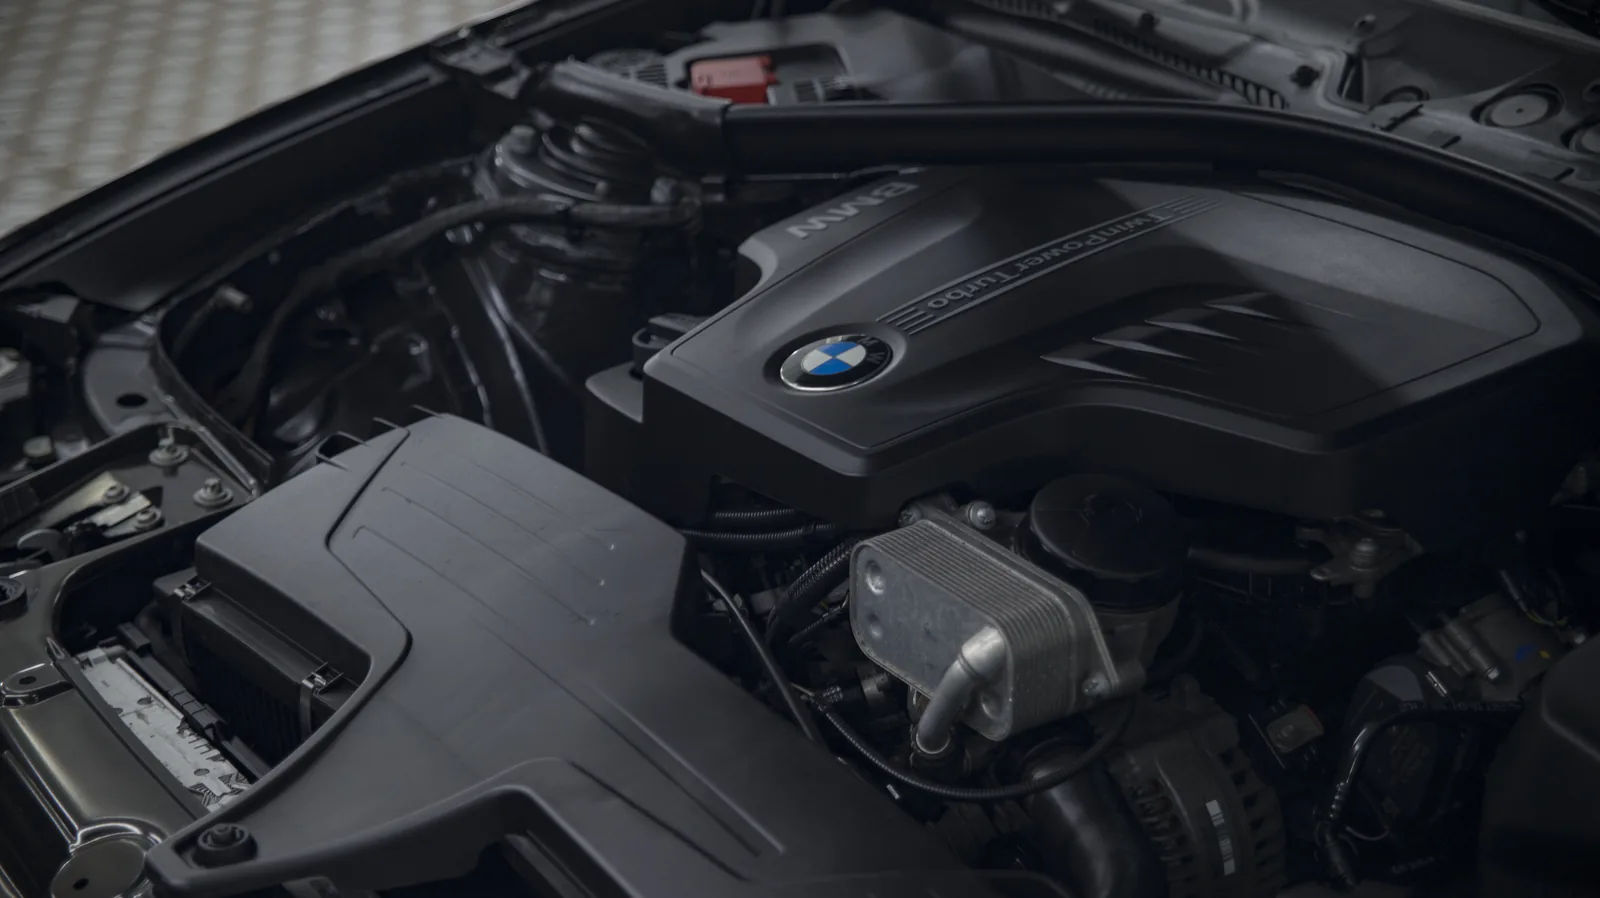
The engine bay is one of the most overlooked areas of a car. A lot of owners are afraid to wash it, thinking water will always cause electrical problems. In practice it's different: washing isn't the danger — bad technique is.
In this guide we break down how to clean your engine safely, which parts you need to protect and why you should always dress the engine bay afterward.
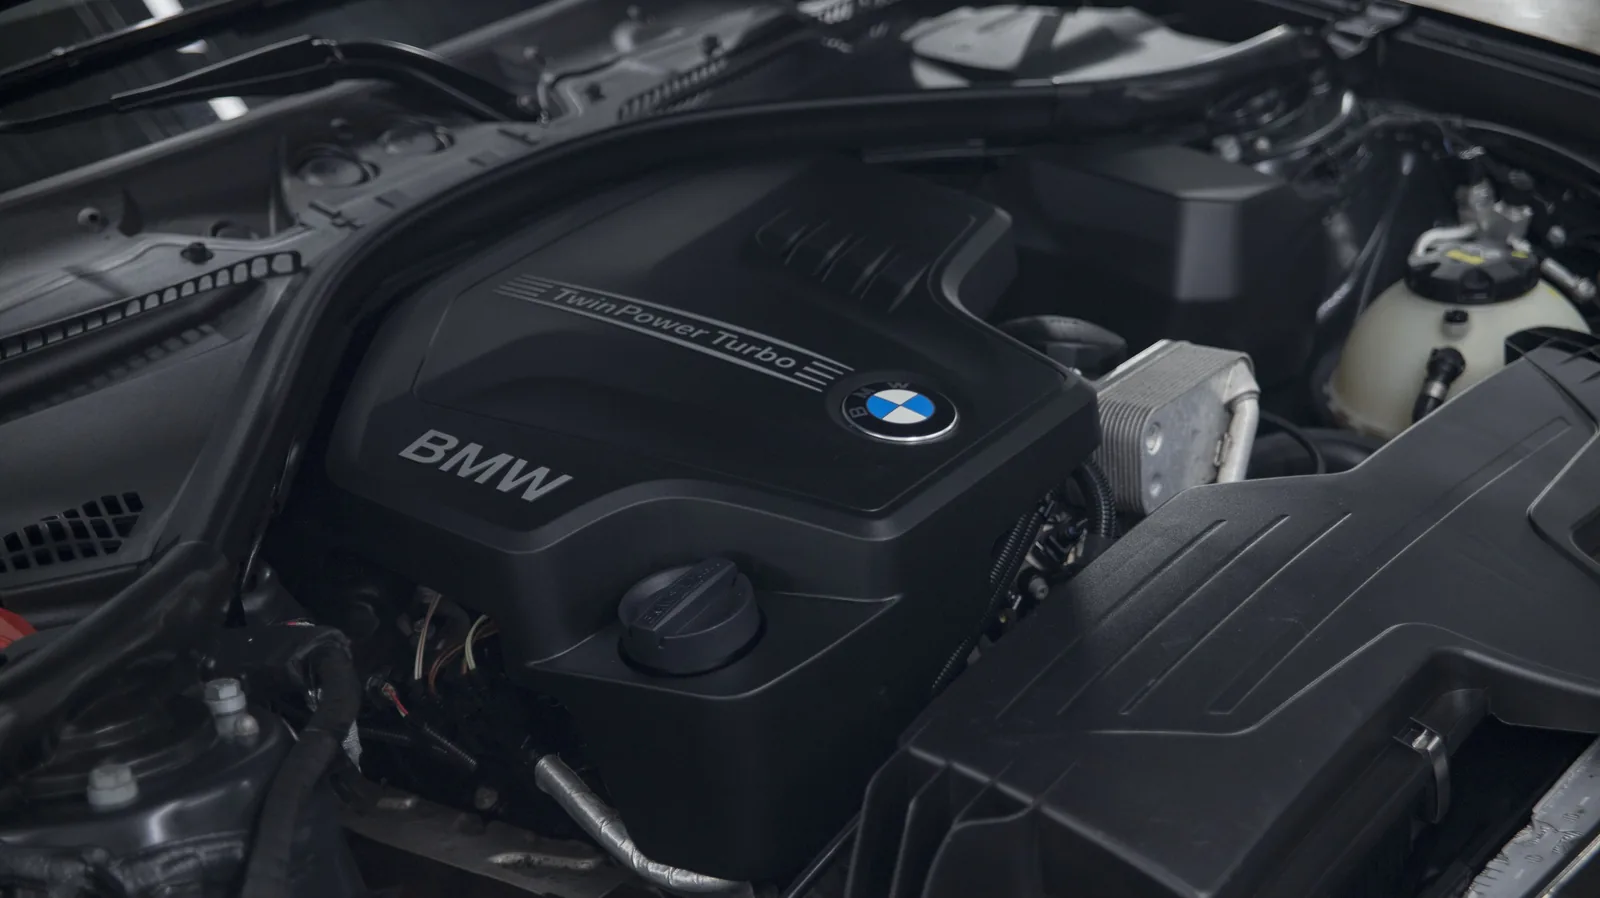
Why wash the engine at all?
The engine bay deals with dust, road grime, moisture and road salt every day. Over time this buildup forms a thick film that not only looks bad but also makes servicing the car harder.
Regular cleaning helps:
- keep parts dissipating heat normally
- reduce dirt buildup on plastic and rubber parts
- protect aluminum parts from oxidation
- keep hoses and seals flexible
- service the car without getting your hands filthy
Washing the engine is first and foremost care for the engine bay, not an attempt to make the motor look "like new".
Step 1. Prep the car
The engine has to be completely cool before you start. It's best to wash it a few hours after driving.
It's also worth covering up the most sensitive parts ahead of time.
On most cars, pay attention to:
- the alternator;
- the battery
- the fuse box
- the ABS module
- the engine control unit
Step 2. Protect the electrical contacts
Before you apply the cleaner, treat the accessible electrical contacts with a dedicated protective grease.
It's a simple step that helps push extra moisture out of the connections and lowers the risk of corrosion after the wash.
Step 3. Apply the engine degreaser
Apply the cleaner to the underside of the hood and every dirty part of the engine bay.
Hello Motor was built to be easy to work with: no harsh kerosene smell you often get from classic engine degreasers.
After spraying, give the product a few minutes to work. The grime starts to soften and the rest of the cleaning gets much easier
Step 4. Work every tight spot with detailing brushes
The dirtiest areas rarely come clean with chemicals alone. That's why the next step is brush work.
Start with the narrow gaps between hoses, connectors and plastic parts. Take your time — this is where most of the dirt collects.
Tip from our chemist Don't use wire brushes. The engine bay calls for soft detailing brushes and plastic brushes only, so you don't damage plastic and rubber.
Step 5. Rinse the product off without high pressure
Once you're done cleaning, rinse the engine thoroughly with water.
The key rule — don't hold the stream on one spot. Never aim it for long at the alternator, connectors or control modules.
The goal here is to rinse off the leftover chemicals, not to blast the dirt away with pressure.
Step 6. Remove all the water
After the wash, drying is the most important step.
Use:
- compressed air
- a leaf blower
- a car dryer
Blow out the areas around connectors, ignition coils and plastic connections especially well.
Step 7. Dress the plastic and rubber
A clean engine is only half the job. The final step is protecting the materials.
For that, use the engine bay dressing Well Done.
After you apply it, just wait 10–15 minutes so the product soaks into the surfaces.
What does Well Done do?
- deepens the color of plastic and rubber
- creates a light anti-static finish
- makes the next cleanup easier
- also drives out leftover moisture
- forms a protective film
- helps rubber parts stay flexible through temperature swings
After the dwell time, just wipe off the excess with a clean microfiber towel.
Extra protection
While the engine bay dressing does its work, you can turn to the underside of the hood.
The ceramic detailer Blaze Booster helps add extra gloss to the surface and makes cleaning painted parts easier later on.
The most common mistakes
Washing a hot engine: Always let it cool down completely before you start.
Using high pressure at point-blank range: That greatly increases the risk of water reaching sensitive components.
Skipping the blow-dry after washing: Leftover moisture is the most common cause of connector problems.
Leaving plastic unprotected: A protective product helps keep the look and makes the next washes easier.
Bottom line
A safe engine wash isn't about water pressure — it's about the right order of steps: cool down → protect the electronics → clean → rinse gently → dry thoroughly → dress and protect.
That's the approach that keeps the engine bay clean and makes servicing your car easy any time of year.
Products in this article
Everything mentioned here, one click away.
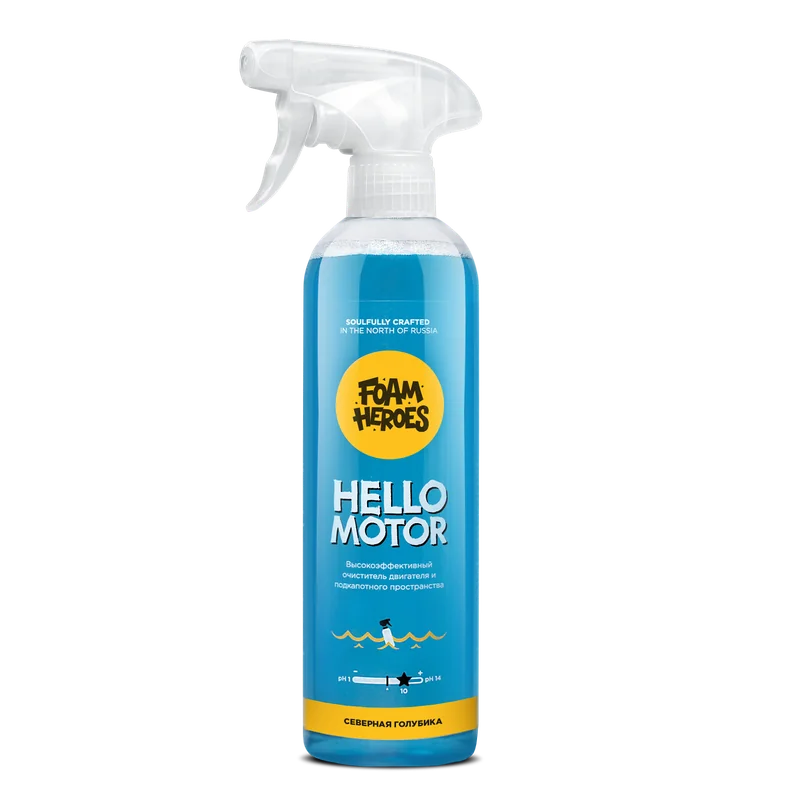
Hello Motor
engine degreaser
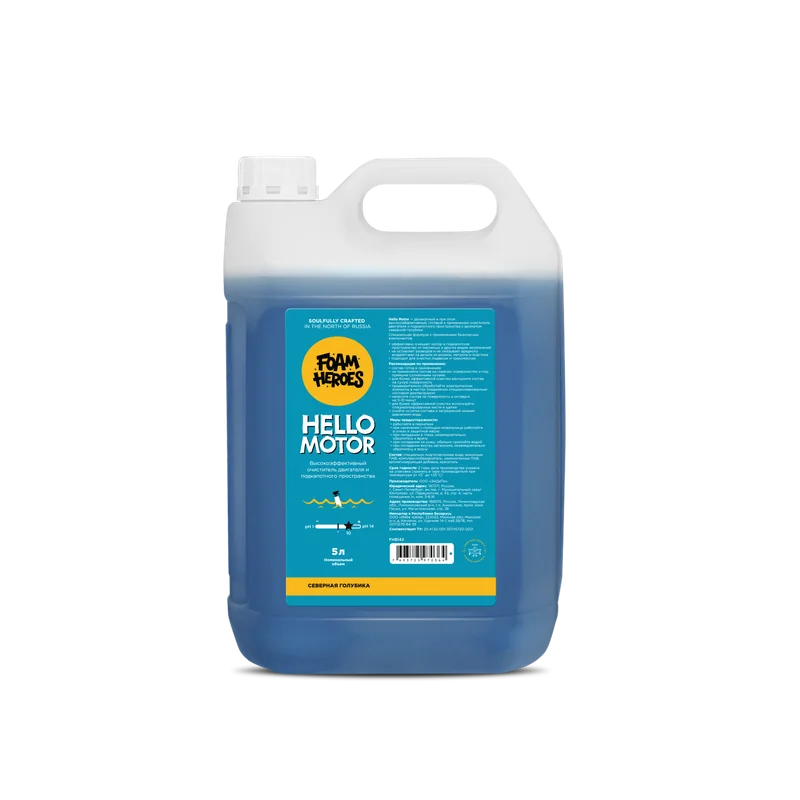
Hello Motor
engine degreaser
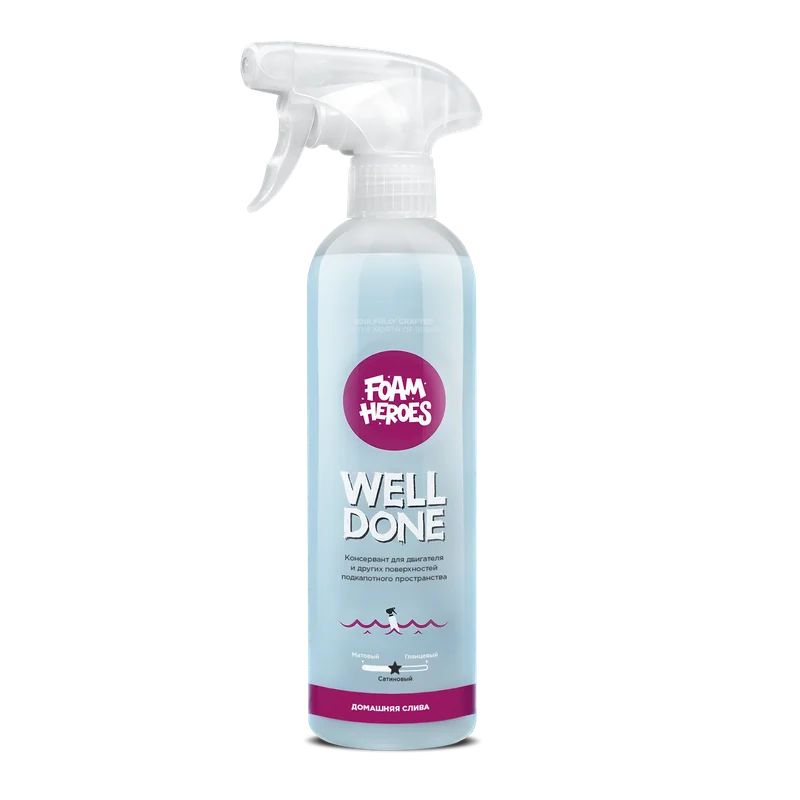
Well Done
engine bay dressing
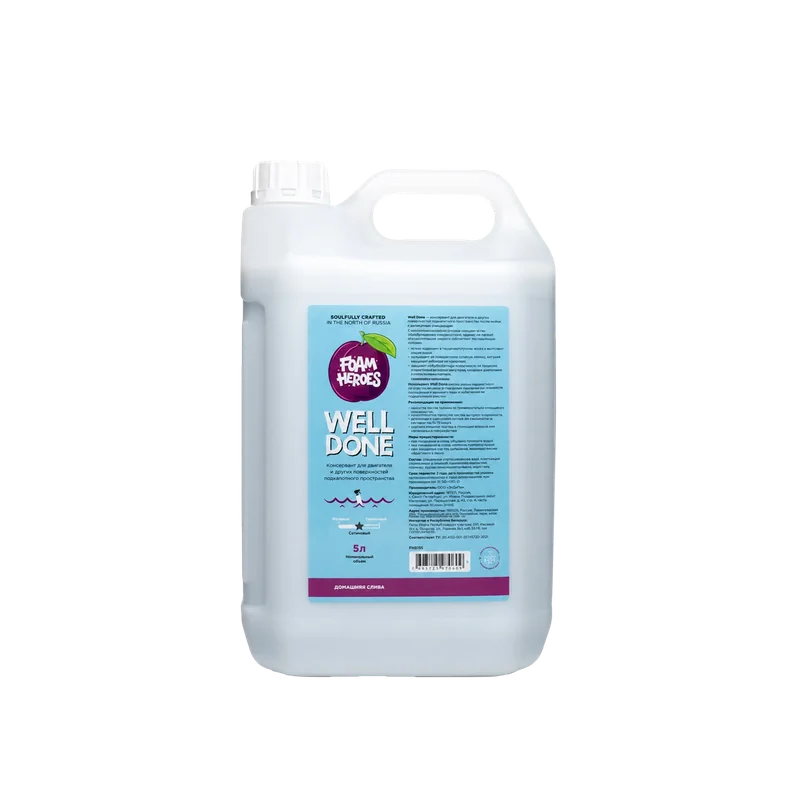
Well Done
engine bay dressing

Foam Heroes Well Done Sticker
Apparel & Merch

Foam Heroes Hello Motor Sticker
Apparel & Merch

Hello Motor game shoe charm, 24 × 36 mm (0.9" × 1.4")
Apparel & Merch